LATHAM SWIMMING POOLS.......Inground Vinyl Liner Swimming Pools....3-26-2025
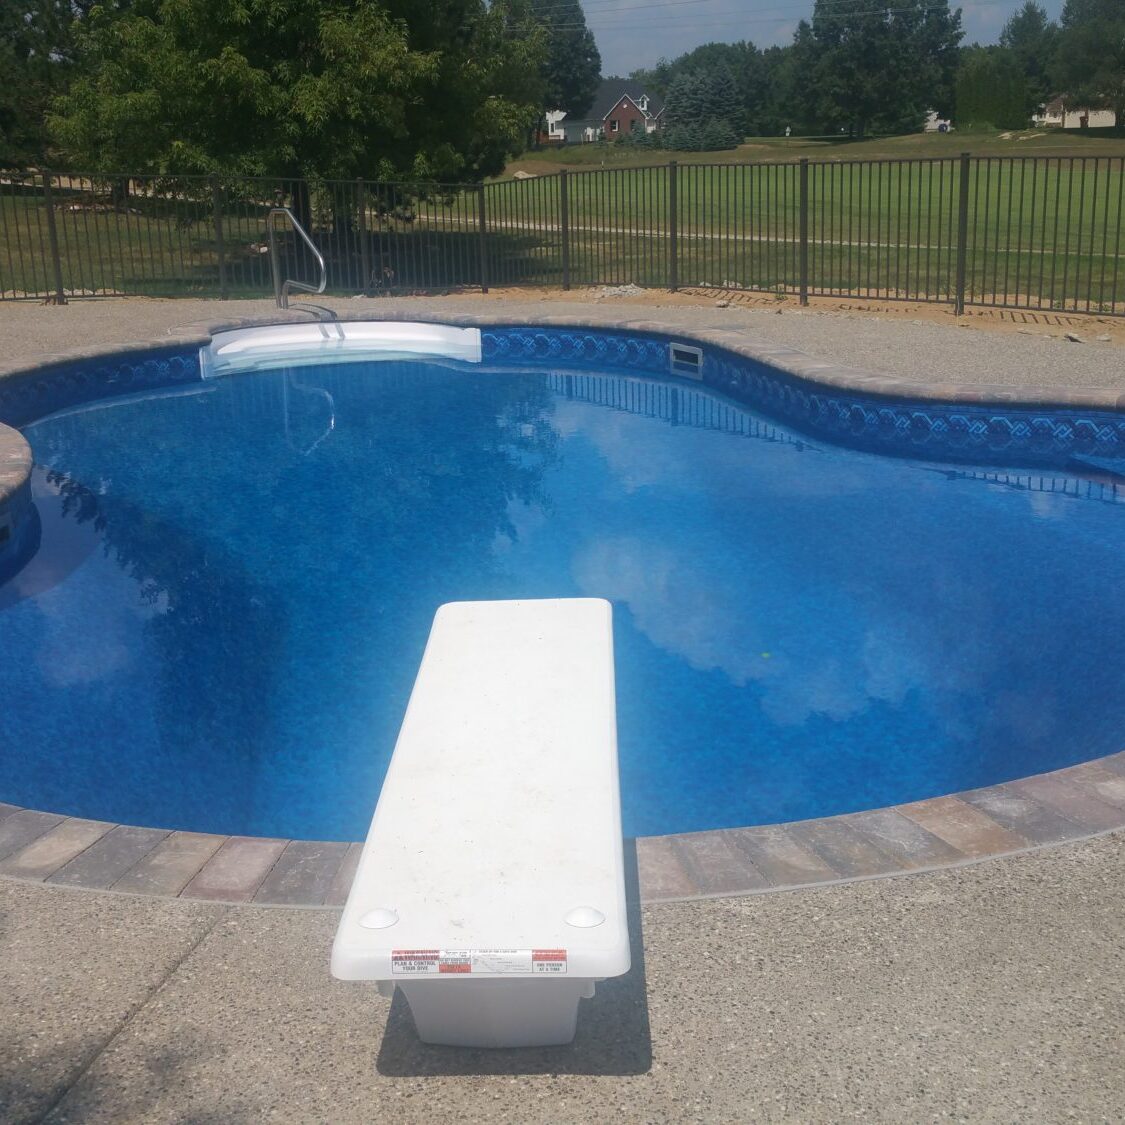
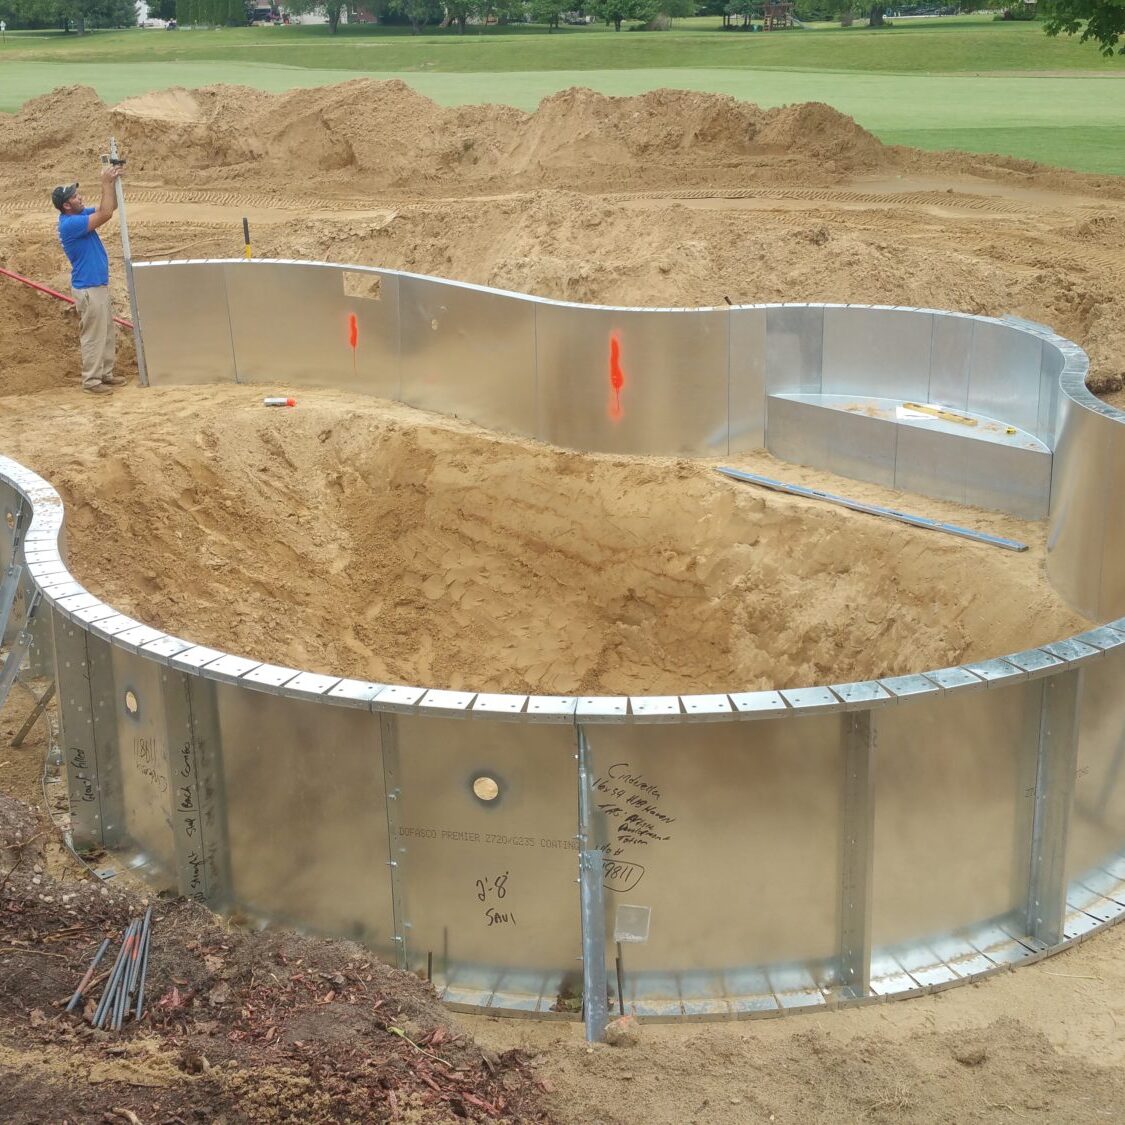
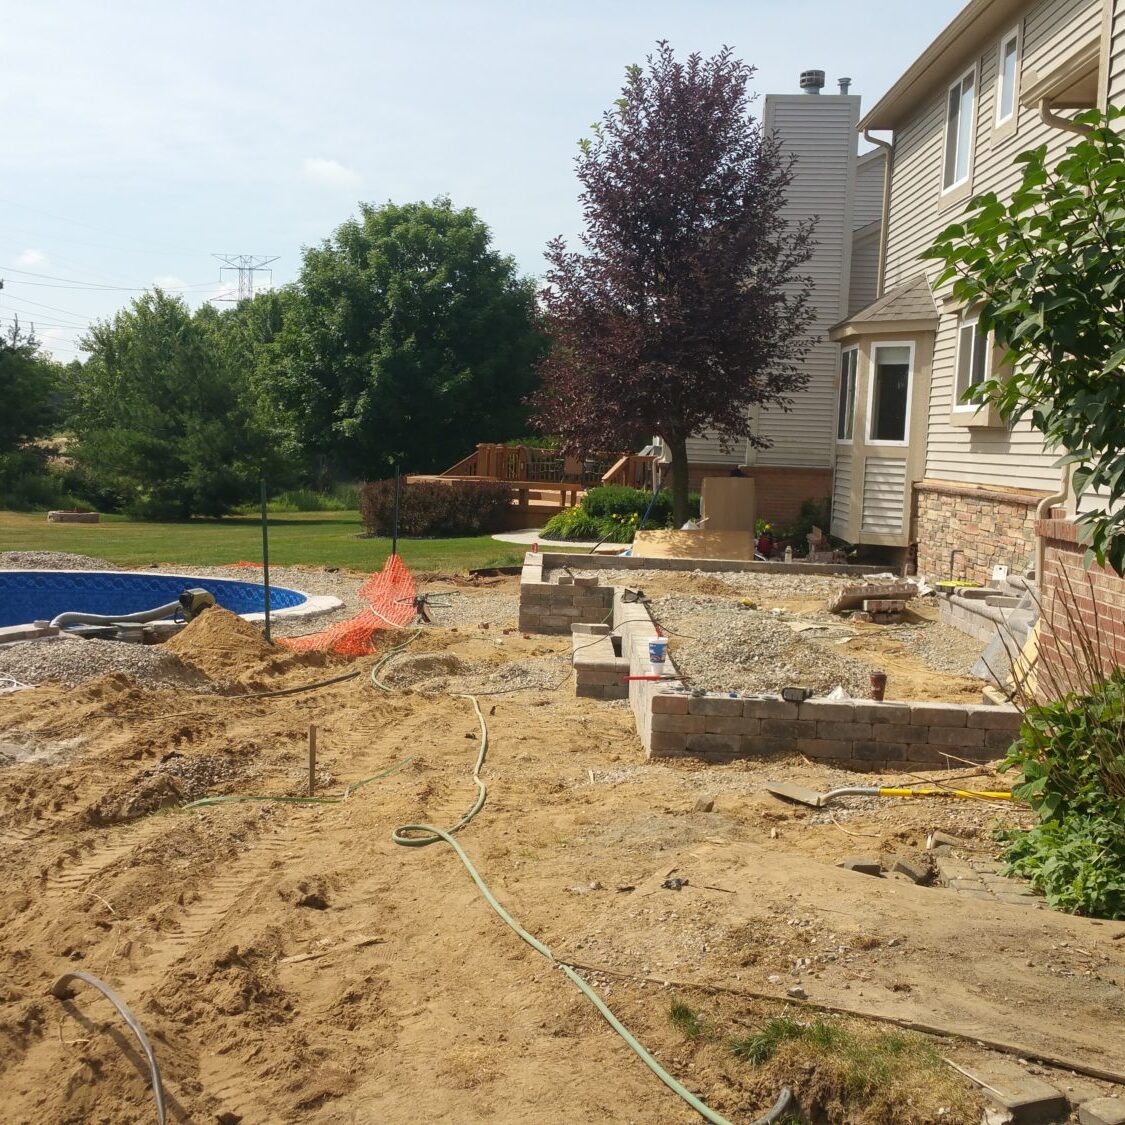
Installing your own in ground pool Vinyl liner is easy, when you take it step by step. Replace your own in ground swimming pool liner, and save thousands of dollars over local installers! Let’s assume that you’ve filled out the simple form for an inground vinyl liner, following the steps included on the page.
Let’s also assume that you already bought your new swimminig pool liner. None of the work below should be done before you have the liner and materials ready. Speaking of materials, let’s start this blog post with a materials list.
Supplies needed to replace your inground vinyl liner:
- Custom vinyl inground swimming pool liner
- Wall Foam if desired or needed
- Floor repair sand or vermiculite
- Cyclone Blower or HD Shop-Vac
- 2 – 1×12″ boards to stand on
- Duct tape, Razor knife
- Leaf blower or Garden hose
- 2-4 people for step #3
Getting ready to replace your inground vinyl liner swimming pool
When you get ready to begin, the first steps are to safely drain the pool to the storm drain or far from the pool. Sanitizer level should be near zero, and the pH should be balanced, to protect your local watershed.
After draining completely (remove main drain cover and use a sponge and bucket to get every last drop of water), cut the liner with a razor knife at the base of the wall – all the way around the pool.
Then cut vertically, through the top bead in several spots around the swimming pool in Macomb, MI. Remove these vinyl strips, and lay them aside.
Leave the floor piece of vinyl in place for now, until we are ready to work on the floor.
Carefully remove, with a large #1 Philips screwdriver, the faceplates for
the Pool skimmer(s), wall return(s), main drains, swimming pool lights, and swimming pool step
sections.
Safely store your screws, so not even one gets lost. It’s recommended
to replace the faceplates and gaskets unless they are only
a few years old.
Step 1: Inground Pool Wall Prep
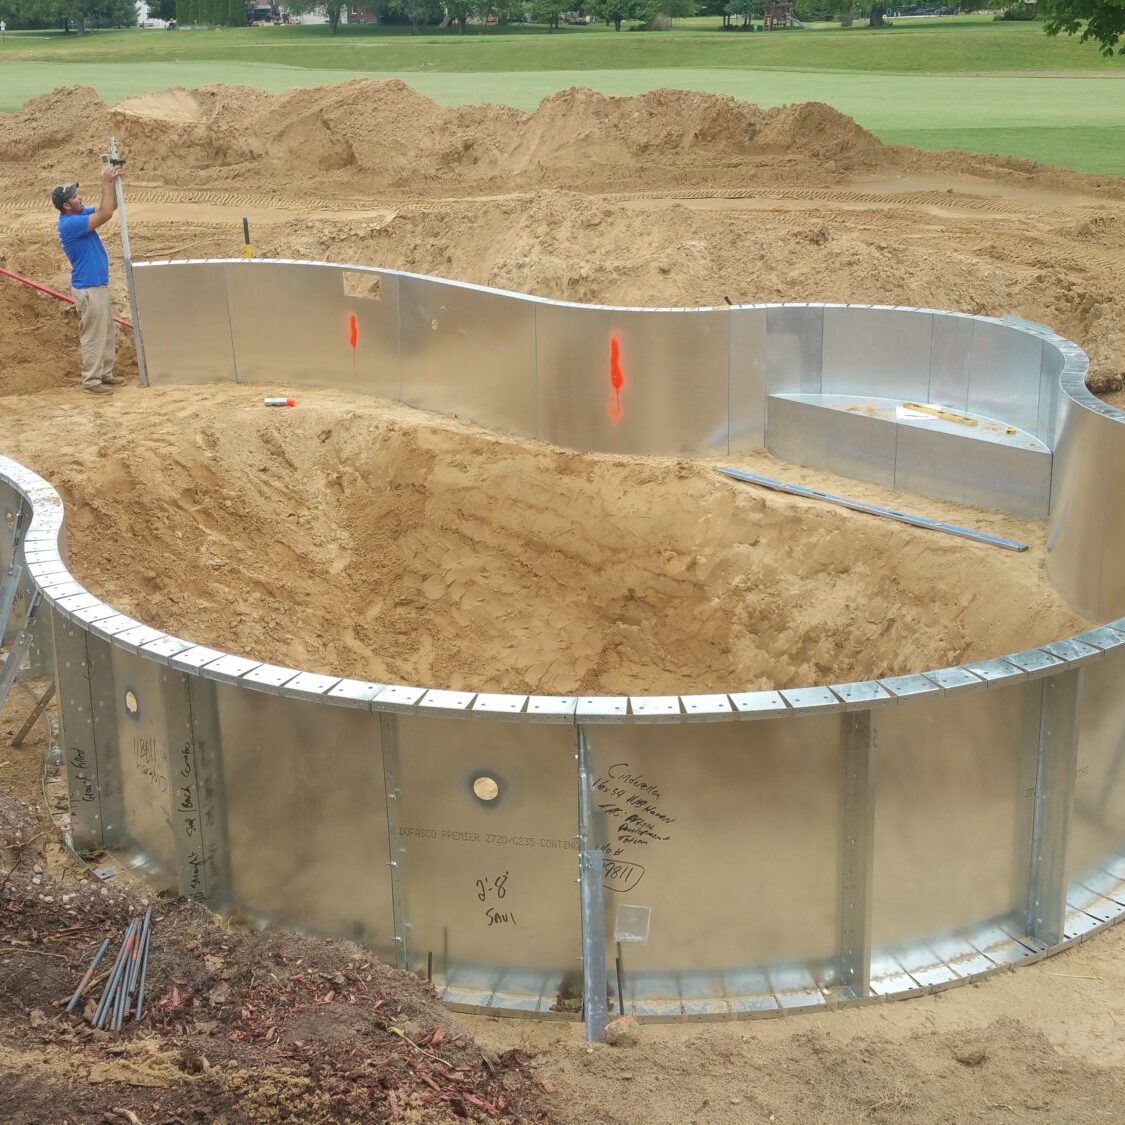
Now that you can see the wall, inspect it closely for corrosion, rust or any odd stains. If there is anything that looks like rust or severe mold or mildew, you should scrape and paint these areas then follow-up by adding wall foam– to keep such things from staining or damaging your new inground swimming pool liner.
If you have returns through your wall, that’s more than Wall Foam will handle, you will need to patch with sheet metal or heavy plastic, then follow-up with Wall Foam.
Wall foam can also be added just to improve the feel of the wall, which feels rather hard and cold without it. Wall foam is easily installed using a contact spray.
While inspecting your walls, you may decide to duct tape up the wall joints, where the panels come together.
You also should look at the liner bead track at the top of the wall to make sure that it’s not broken at any point.
If you have an inground swimming pool in Macomb, MI. with a cord that runs through the wall, the trick is to shut off power and disconnect the screws at the junction box. The J-box is usually off the deck, directly behind the light, or on older swimming pools under the diving board.
After removing the wire nuts, and loosening the clamps, duct tape a long piece of string to the wires. Pull the wire cord out into the swimming pool, pulling until the string comes into the light niche.
Cut the string with your razor knife and duct tape it to the inside of the niche.
Step 2: Floor Prep
When you have completed the wall prep and you have checked the weather to be certain that you can continue from this point to completion, we can begin to remove the liner from the Vinyl liner swimming pool floor. Cut it with your razor knife and remove in sections.
- Concrete or Vermiculite Floors:
Sweep the floor clean with a broom or leaf blower. Remove all of the little pebbles, and fill in any holes with a concrete sand mix, or vermiculite. - Sand Bottom Swimmng Pools:
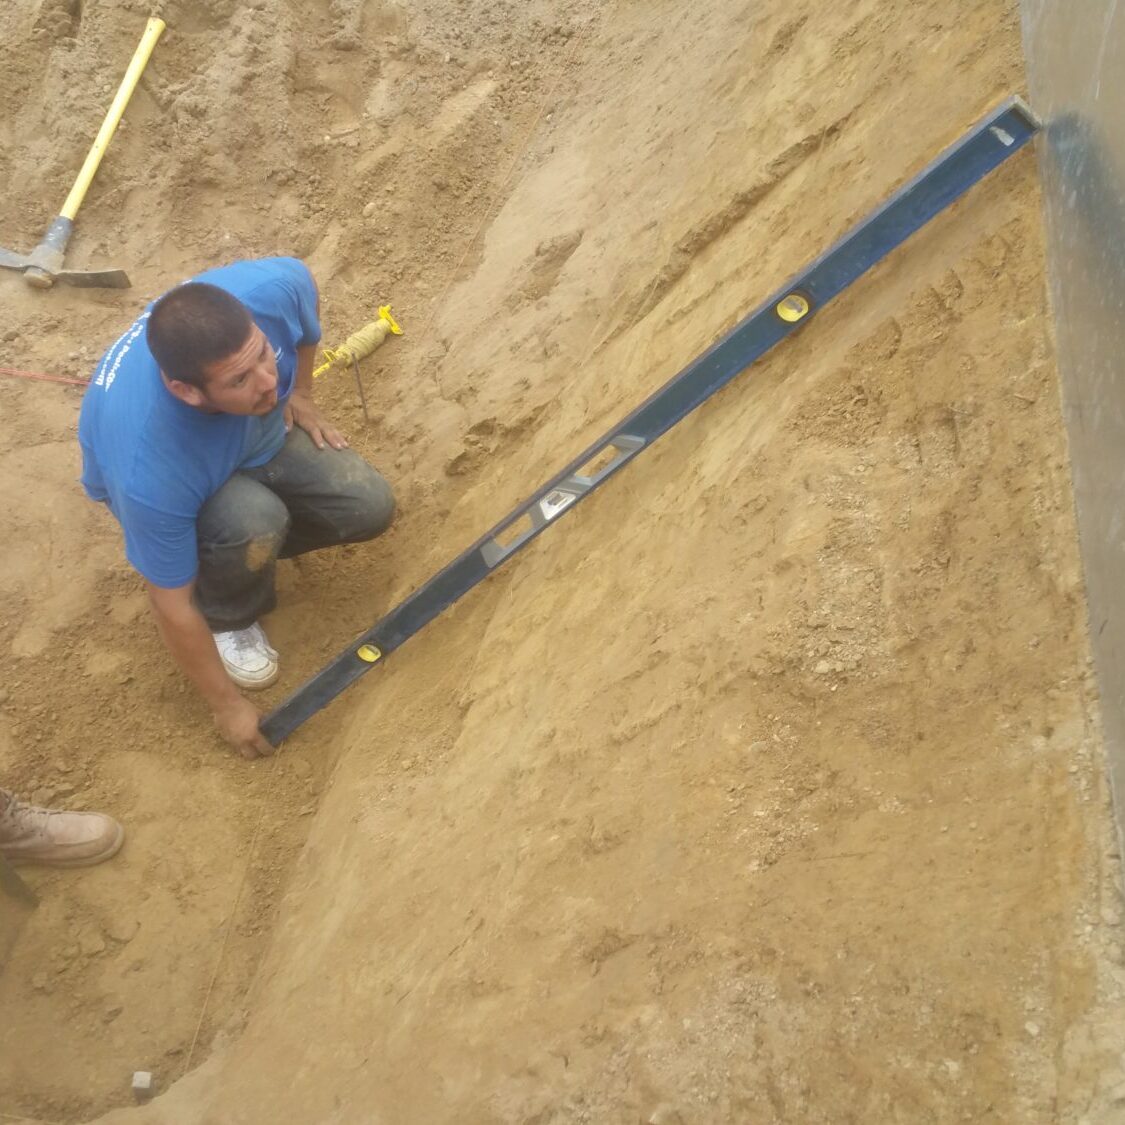
Sand is much more work to prep, and you have to work and walk very carefully around the swimming pool. You’ll need large plaster trowels; the stainless steel, rounded end type. Remove any spoiled or odd-colored sand and replace with new. Low areas can be filled in new sand, but be careful not to add too much sand, or you will raise the floor higher, this could make the new pool liner fit poorly.Trowel the floor smooth, starting in the deep end and working your way out the shallow end. Use the 1″x12″ boards to move around, these dig into the sand less than your shoes. Large 2×4’s can be used to roughly screed flat areas, finishing with the trowel. Lower raised areas by pounding them down or scraping off high spots, and fill in the low spots. It needn’t be absolutely perfect, as most patterned liners will hide minor floor imperfections, but try to get it as level and even as you can.
Pay particular attention to where the wall meets the floor. If this area is wavy, and not fairly level, it may look odd. Around the deep end of the in ground swimming pool, you may decide to trowel a safety ledge of 4-6″ where the wall meets the floor.
Step 3: Install new swimming pool liner, Macomb Mi.
Swimming pool wall is prepped, floor is prepped, and we can now open the new inground swimming pool liner box and follow the included instructions. Look for the tags that indicate “deep end” or shallow end, and orient the swimming pool liner as you prepare to pull it carefully across the swimming pool.
With at least 3 people, one to hold the shallow end wall, two others will grab opposite sides of the liner and pull it across the swimming pool to the deep end wall. Bend down and lock the corners into the tracks. Pennies or Popsicle sticks can be useful as a shim to hold the liner in place as you move it around to line it up to the inground swimming pool corners.
Once the corners or other markers are established, and the liner appears to be hanging correctly, proceed around the liner swimming pool, away from each other and lock the liner into the track. Pull any slack along the wall with you, as you go, keeping a slight tension.
Once the in ground swimming pool liner bead has been snapped into or pushed into the track all the way around the pool, take a look at how it’s hangin’ – should look centered. There may be some floor wrinkles, so pull the pool liner floor material up towards the shallow end wall, and then do the same in the other areas, to pull loose vinyl material towards the walls.
If you have a step section, lay a 2×4 across the front of the steps and duct tape the liner to it, at the same height at the track. Small sandbags or water bags laid under the bottom step, on the liner, is helpful to simulate the weight of the water. When the pool liner is positioned properly, install the 3 strips around the front of the steps, bottom and both sides. Tighten down the screws very tightly against the rubber gasket. After all screws are tight, cut out the section of vinyl – and walk out of the inground swimming pool!
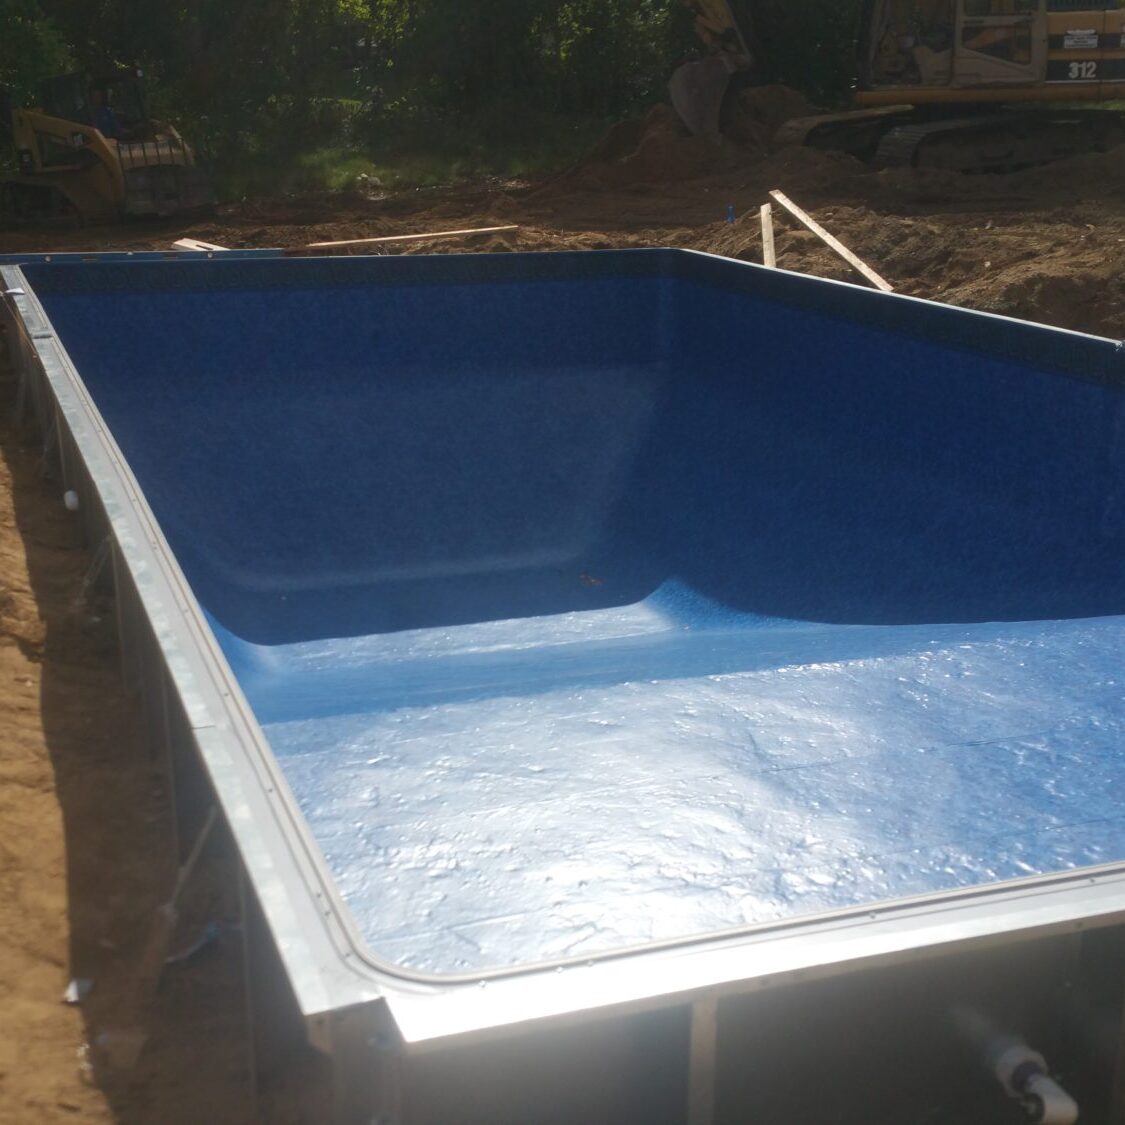
Next step is to hook up your blower vac. to set the liner. These vac/blowers can also be used to blow out your plumbing lines for winterizing your own inground swimming pool. You can, as shown in the picture at page top, use a large, heavy duty shop-vac of at least 5 hp to set the liner.
What I mean by set the vinly liner, is this; we place a hose behind the liner, in between the pool and the liner and suck out all of the air with a vacuum. This pulls the liner tight against the pool wall. We use duct tape to seal up where the hose goes behind the liner, and to seal up the skimmer lid or a pool light cord. In under a minute, the Cyclone will pull the liner tight.
If you have a main drain, you will need to install the faceplate ring and the lid at this point, after the liner is set. Carefully walk down to the deep end, using boards if you have a sand bottom. Locate the screw holes under the liner, and install the ring and new gasket. Screw down very tightly with a proper size screwdriver. Then install the main drain grate securely.
If you have a swimming pool light, now is the time to install the ring and new gasket, and reinstall the light fixture into the niche. Reconnect the cord to the string securely, and pull the cord back through the conduit to the J-box.
You may be able to reach it from above, hanging upside down, or standing in the deep end reaching up. If you need to stand on something, make
sure it’s soft, or placed on a broad, flat surface, so that you don’t damage the new liner.
If there are wrinkles in the liner, turn the vac off and work the vinyl, trying to pull the wrinkles toward one wall or the other. Banging the lower wall with a push broom, or gently persuading wrinkles with the the wood edge of a push broom works well.
Turn the vac back on and you should have most wrinkles removed. Small wrinkles up against the wall should flatten out as water fills the inground swimming pool.
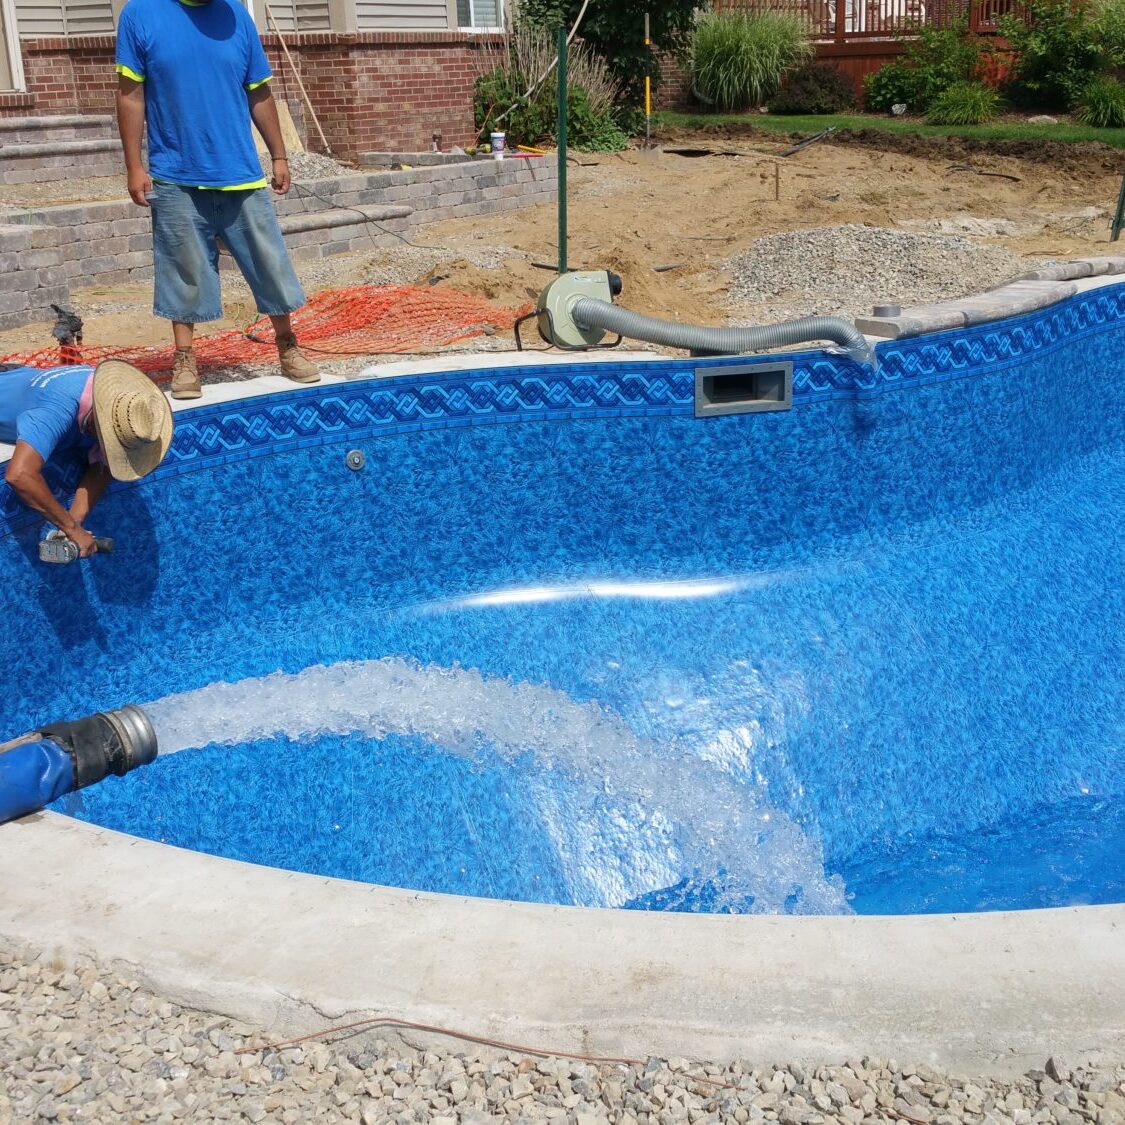
Step 4: Fill water in the inground swimming pool
At this point, there are usually high-fives and the sound of beer cans opening. The vac must stay running until the water level is about 6″ above the floor, or just beginning to cover the hose.
Continue to fill the swimming pool as you remove the vacuum hose and duct tape and pop this area into the liner bead track. Most average size swimming pools will fill from the hose in 36-72 hours.
Step 5: Cut-in returns and skimmers
We don’t install these until the Latham liner swimming pool is full, because the vinyl liner is still stretching into buy new faceplates for your vinyl liner swimming pool place. When the Latham swimming pool is full, install the faceplates and gaskets very tightly – with a proper size screwdriver. To prevent any leaks make sure the gaskets are solid and the screws are tight. When the plate is re-installed, cut out the vinyl liner inside the faceplate and flood the lines with swimming pool water.
Now you can start the filter system, balance the water chemistry and enjoy your in ground vinyl liner swimming pool. Installing an inground Latham swimming pool vinyl liner is not too difficult, especially if you’ve measured correctly. I hope I’ve answered all of your questions about how to install an inground Vinyl liner swimming pool liner, if you have other questions, give our liner experts a call at 248-889-8483
